4. VS Code for Python Installation
This assumes you have installed Anaconda already.
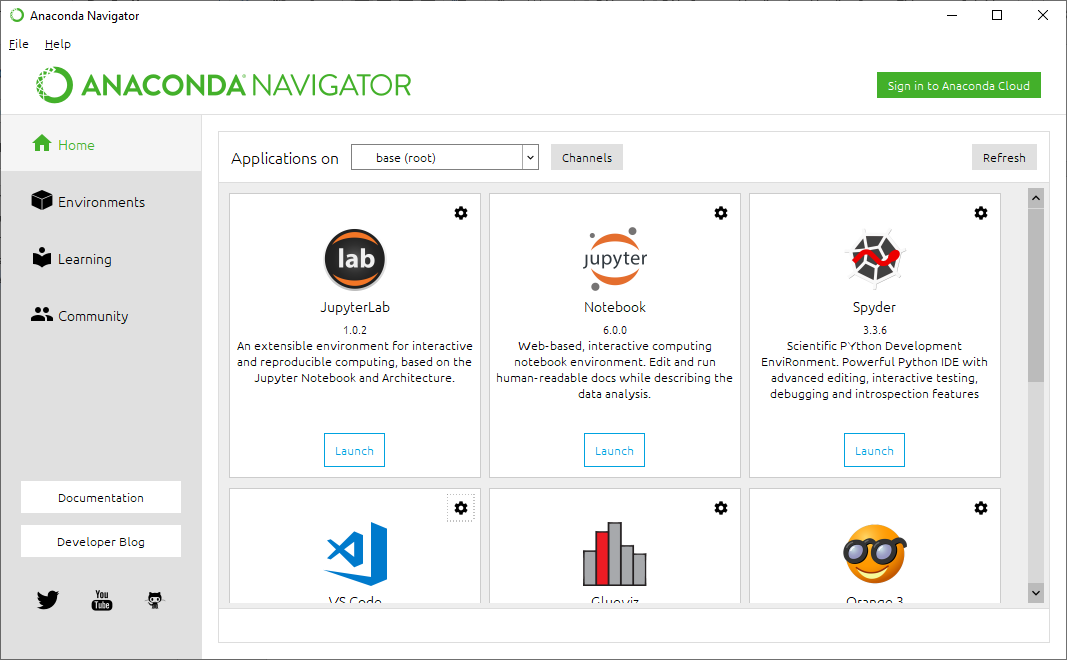
4.2. Find and Install the VS Code application
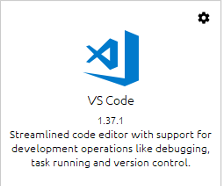
Scroll down in the list of applications until you find VS Code (Visual Studio Code, by Microsoft).

Click the Install button beneath it.
Once you have installed VS Code, its application icon will change to contain a “Launch” button.

Click that button now to launch VS Code.
4.3. Adding Support for Jupyter Notebooks
VS Code is all ready to let you edit Python code, but much data work happen in Jupyter notebooks rather than Python scripts. Let’s install a VS Code extension to support Jupyter notebooks.
Click the Extensions button on the left of the VS Code window. It is the bottom button shown below, which looks like four squares:

Then search for Jupyter, as shown in the search box below. The first result, also shown in the image, is the Jupyer extension made by Microsoft. Once you’ve verified that you’re looking at the official extension made by Microsoft (as in the image below), click its Install button.

4.4. Testing your Installation
Let’s verify now that you can successfully run Python code in a Jupyter notebook in VS Code.
Create a new Jupyter notebook:
Open the command palette (Windows: Ctrl+Shift+P, Mac: Command+Shift+P).
Search for “notebook” as shown in the image below.
Choose “Jupyter: Create New Blank Notebook,” as shown in the image.

Place your cursor in the first input cell of the notebook, as shown in the image
below, and type some very simple Python code, such as 1+1. Press Shift+Enter
to run the code, and you should see the output (obviously 2 in that case).

Feel free to save the notebook, but it is not necessary to do so; you can close without saving after this brief test.
You have a successful Python and Jupyter installation that you can run from VS Code!

